#FabScraps
C115 Egg-Stravaganza Collection
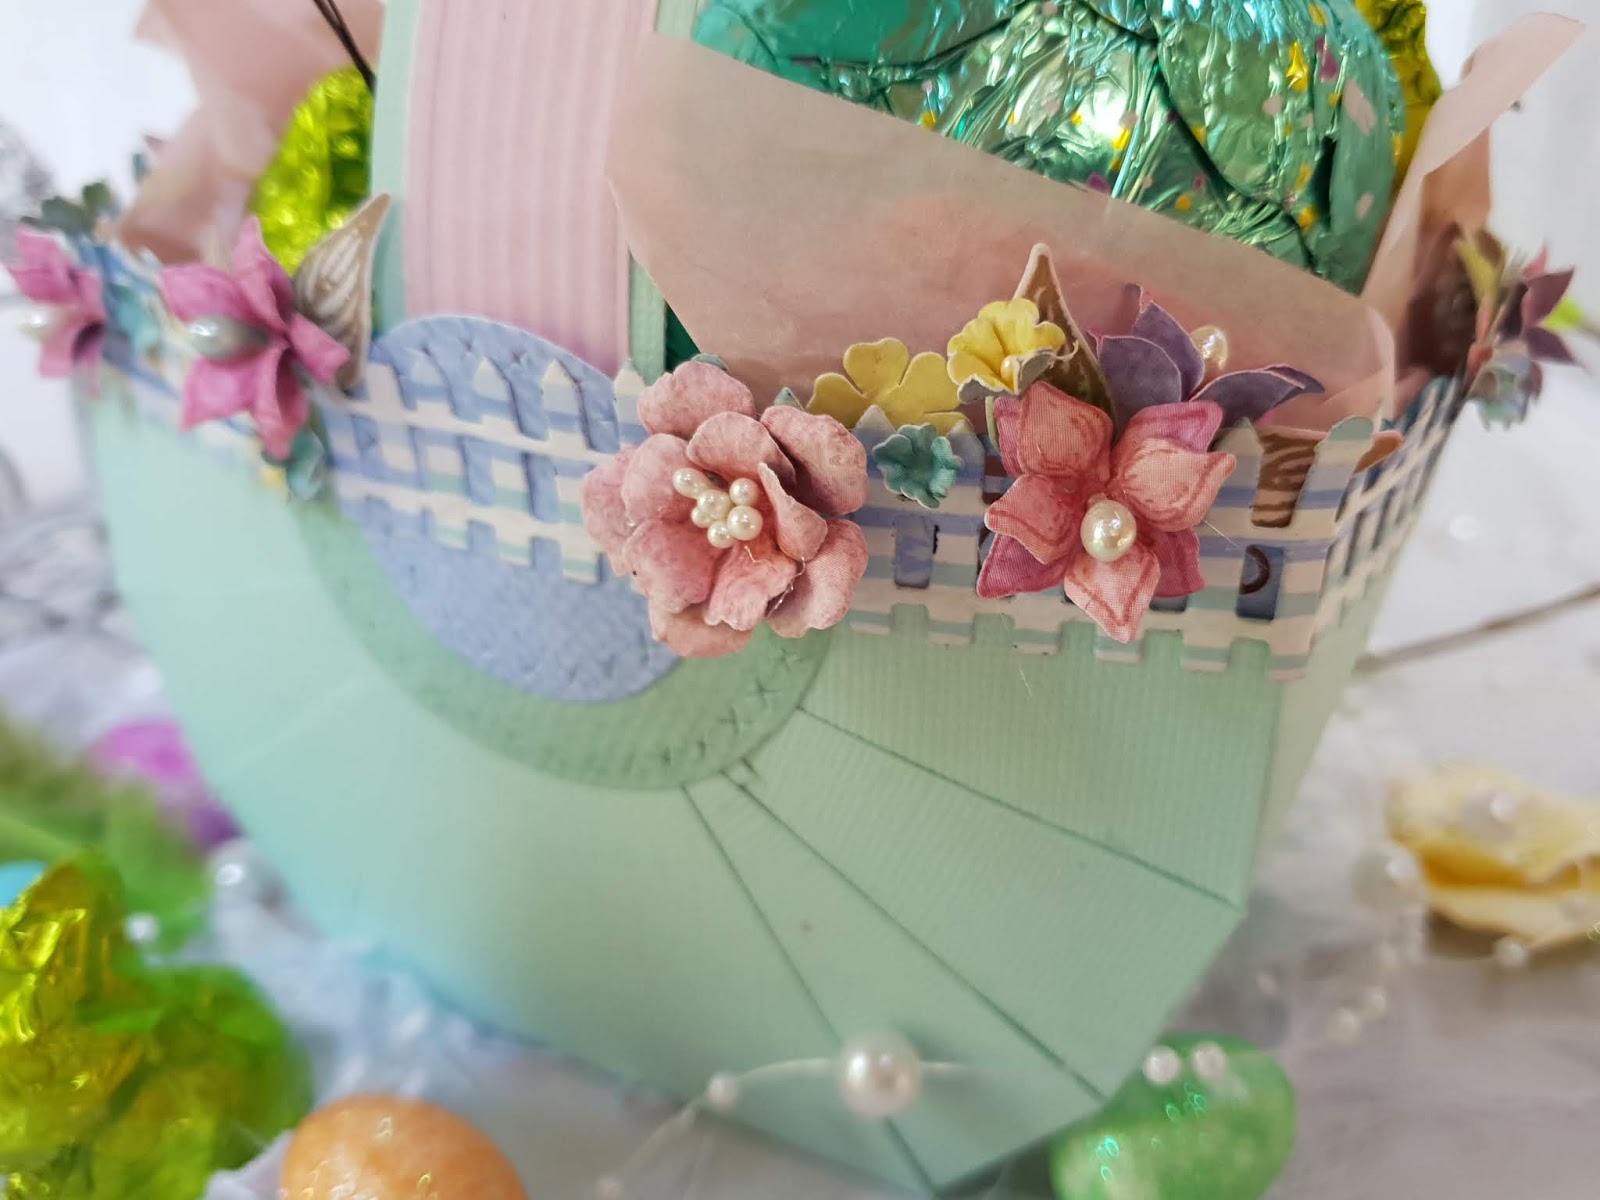
Off The Page: Easter
Egg Basket
Created by Bernadette Siena
South Africa
For This Project You Will Need:
·
FabScraps Egg-Stravaganza
Collection paper range : C115 001 and 004
·
FabScraps Paper
Embellishment Pack Coordinated to the collection
·
Coordinating
Cardstock – colour of choice, matching the paper collection 30 x 30 cm (12 x 12
inch)
·
Adhesive: Double
Sided Tape, Glue(Tombow or dry clear glue)
·
Embellishments:
Paper flowers, Large (I cut and made flowers from the 8 x 8 Paper Pack)
·
Circle punch or
dies, approximate 1 inch and 1.5 inch in
diameter.
·
Decorative
borders punches or dies.
Instructions:
1.
Cut the 12 x 12
cardstock down to 9 x 9 inch. Cut and Score as per the template provided.
2.
With a bone folder,
burnish all the score lines to form a crisp fold.
3.
To assemble the
basket: Lay the cardstock with the triangles facing the top and bottom. Take the outer 1 inch strips and join
together and glue with a strong adhesive. Now take the centre 1 inch strips and
join them so that it is matching up to the 1st 2 joined strips. Do the same with the last 1 inch strips. Fold the triangle strips up over the joined 1
inch strips. Fold the little lip it
forms at the top, over the side of the basket and glue down. You should now have a basket shape as per
photos.
4.
Punch or die cut
2 of the larger circles from the C115 paper and fold in half. Adhere over the
sections where the 1 inch strips were joined together.
5.
From the
cardstock, cut a strip measuring 9 inch x 1 inch. This will be your basket handle. Adhere the ends of the strip to the insides
of the basket, as per photos.
6.
Punch or die cut
4 of the smaller circles from the C115 paper.
Adhere a circle on the inside and outside of each of the handle bases.
7.
Punch 1 inch strips
from the C115 paper with your border punches and adhere on the inside and
outside edges of the basket.
8.
Decorate the
basket with some flowers and fussy cuts or tags from the collection.
9.
Fill with some Easter
eggs and enjoy!